







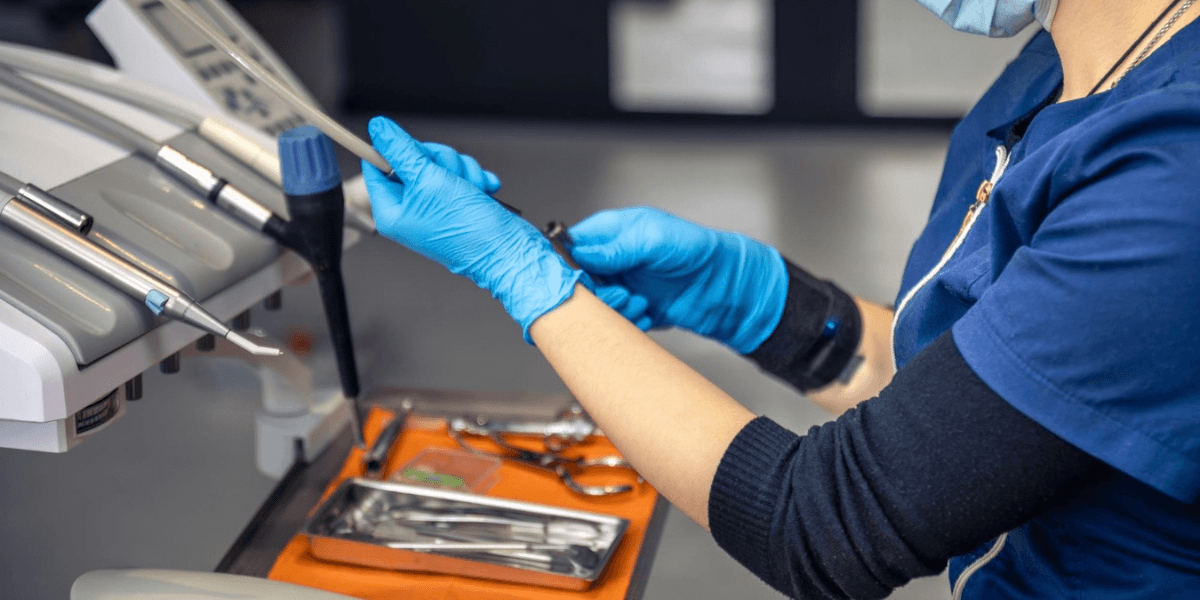
How to Inspect Surgical Instruments Before Use
Executive Summary: Surgical instrument inspection is essential for identifying residue, corrosion, cracks, misalignment, dull edges, and faulty locking mechanisms before instruments return to use. Careful visual and functional checks, performed as part of proper reprocessing, help maintain instrument safety and performance. Consistent inspection routines, staff training, and appropriate records also support reliable workflows and timely repair or replacement of damaged instruments.
Faulty instruments can create safety and performance concerns, making careful inspection an important part of instrument reprocessing. A hairline crack or a stiff hinge can be difficult to notice without a careful check. Regular checks are not a box-ticking task; they are a habit that supports patient safety, staff safety, and reliable instrument performance.
A worn joint, a dull blade, or a corroded surface can sit unnoticed until the moment it matters most. This surgical instrument inspection guide covers what a proper check looks like, why it matters, and how your team can build it into daily practice with confidence.
Why Instrument Checks Matter Before Every Procedure
Patients trust that every tool touching their body has been properly cared for. A damaged instrument may not function as intended and can also be difficult to clean or sterilise properly. Regular surgical instrument inspection helps identify small faults before an instrument needs repair or replacement.
Checks build confidence within the team. Identifying damaged or poorly functioning instruments before a procedure can help prevent avoidable interruptions. A facility known for consistent checks also builds trust with referring practitioners over time.
Common Defects Found During Routine Checks
A quick look at common faults helps staff know exactly what to check for.
Defect Type | What to Look For | Possible Cause |
Corrosion or rust spots | Discolouration, pitting on metal surface | Moisture, deposits, or processing conditions |
Misaligned jaws | Uneven closure, gaps when clamped shut | Repeated use, impact, or improper handling |
Dull cutting edges | Reduced cutting performance or difficulty making a clean cut | Repeated use or inadequate maintenance |
Loose joints | Wobbling at hinge points | Wear or damage over repeated use |
Stained or pitted surfaces | Discolouration, pitting, or surface damage | Corrosion, deposits, or repeated exposure to processing conditions |
How to Inspect Surgical Instruments?
Good habits start with a consistent order of checks, done the same way every time.
Checking for Leftover Residue
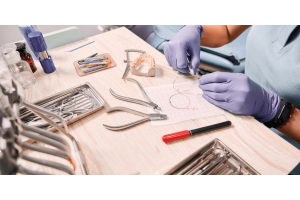
As part of the surgical instrument inspection procedure, hold each instrument under bright light and look closely at hinges, teeth, and box locks. Blood or tissue residue can hide in these tight spaces even after cleaning. Visible residue means the instrument should be cleaned again before further processing.
Testing Movement and Alignment
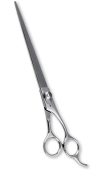
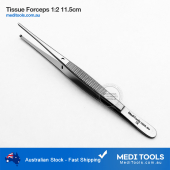
Open and close the jaws or blades several times to feel for smooth, even motion. Scissors and forceps should move smoothly, align properly, and close securely. A grinding or sticking sensation may indicate a problem that requires further assessment.
Examining Tips and Cutting Edges
Inspect points and blades under good lighting for chips, bends, or dullness. A dull cutting edge can reduce cutting performance and should be checked before using the instrument. This matters most for scalpels and fine dissecting tools near delicate structures.
Confirming Locking Mechanisms
Ratchets and box locks must hold firmly once engaged, without slipping open under normal pressure. Test each locking position by gently applying force and watching for movement. A lock that gives way mid-procedure forces an unplanned pause.
Reviewing Overall Cleanliness and Finish
Check the surface for spots, discolouration, or visible damage that suggests corrosion or deterioration. Inspect stainless-steel surfaces for corrosion, pitting, cracks, or other visible damage. Flag a patchy or rough texture for closer review.
Building a Surgical Instrument Safety Inspection Routine in Your Facility
Consistency turns individual checks into a genuine safety culture across your team. Train every staff member to follow the same checklist, no matter how busy the day feels. Keep records of instruments needing repair or replacement so you can identify recurring problems.
Build instrument inspection into the reprocessing workflow and complete it before packaging and sterilisation. Pair visual checks with function testing under proper lighting, since faults sometimes only reveal themselves under close attention.
Quick Tips to Keep Every Check Consistent
A few small habits make instrument checks faster and more reliable.
● Keep a bright, dedicated light source right at the inspection station.
● Wipe hands dry before handling instruments to avoid smudging finishes.
● Check both sides of hinges, not just the visible surface.
● Flag anything unusual straight away instead of waiting until the end.
● Rotate inspection duties so more staff stay sharp on the process.
● Store checked instruments separately from those still awaiting review.
Frequently Asked Questions
1. How Do You Inspect Surgical Instruments Before Use?
Check each tool under good lighting for cleanliness, visible damage, proper movement, alignment, and functional components. Document anything unusual before it returns to circulation.
2. What Should You Check On Surgical Instruments?
Pay close attention to joints, cutting edges, tips, locking points, and other functional areas that may show damage or wear. A full surgical instrument safety inspection covers all these points together.
3. How Do You Check Surgical Instruments For Damage?
Hold each item against bright light and rotate it slowly, checking for cracks, bends, or discolouration. Set aside any instrument showing damage or wear that affects its condition or function for assessment.
4. What Is A Surgical Instrument Inspection?
It is a structured check that confirms an instrument is clean, intact, and functioning as intended before it is returned to use. This routine forms part of proper instrument reprocessing and infection-control practices.
Final Thoughts
A careful check is an important step in maintaining instrument safety and function. A clear surgical instrument inspection guide helps teams follow consistent checks, identify damage early, and keep equipment reliable. Small checks, done consistently, help prevent bigger problems caused by tools left unchecked.
Equipment that holds up under pressure is not an accident; it is a choice made early. For anyone looking to buy medical instrument supplies, MediTools Pty Ltd stocks a full range built to meet every check with confidence. Shop from us today and choose instruments built to hold their edge!
Disclaimer
The content provided here on the sterilization, cleaning, and reprocessing of surgical and medical instruments is strictly for informational and educational purposes only. This information is not a substitute for professional training, certification, or the manufacturer's official Instructions for Use (IFU). Sterilization is a critical, complex process that demands strict adherence to regulatory standards; improper technique can cause serious harm, including patient infection. All healthcare personnel must follow their facility's established protocols and the specific IFU for every instrument and piece of equipment. By using this blog, you agree that the author/owner holds no liability for any damages or consequences resulting from the application or misuse of this information.