




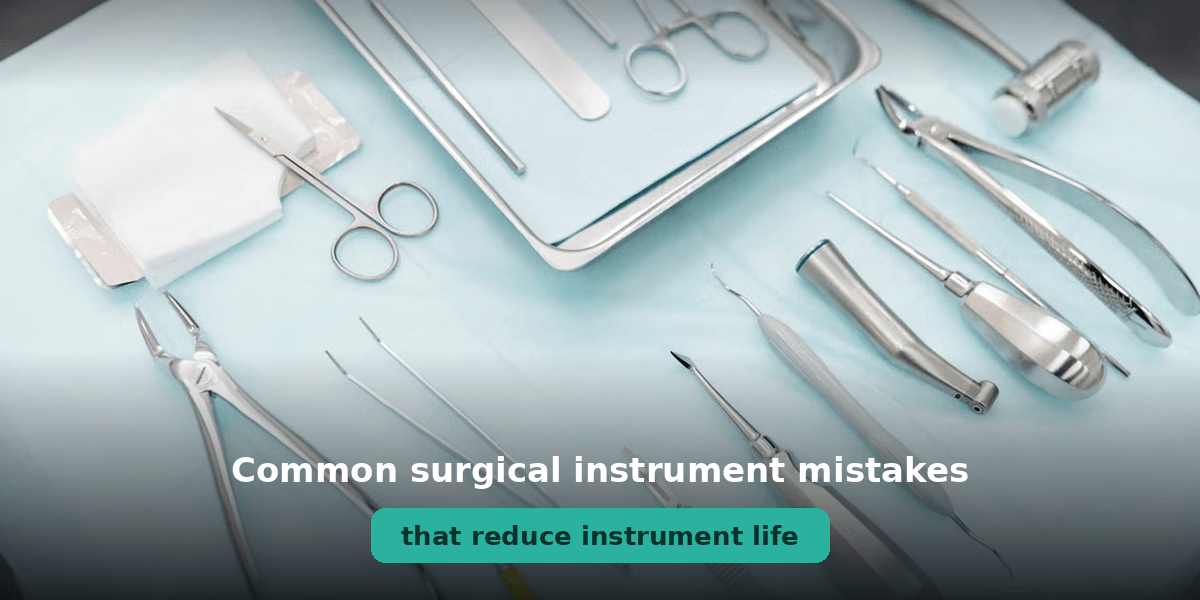
Common Surgical Instrument Mistakes That Reduce Instrument Life
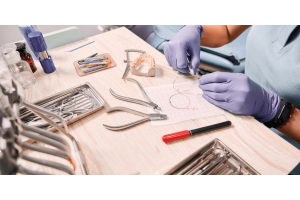
Surgical instruments are a significant investment for any healthcare facility. They are precision tools built to perform under pressure and, when properly cared for, last for many years. But small, everyday mistakes in how they are handled, cleaned, and stored can quietly work against their longevity. Many clinics end up spending thousands replacing instruments that could have served them much longer with just a little more attention to maintenance.
The frustrating part is that most of this damage is completely avoidable. It does not take expensive equipment or complicated processes to protect your instruments. It takes consistent habits and an awareness of what actually causes harm. This blog walks through the most common mistakes and how to avoid them.
Why Instrument Care Matters More Than You Think
It is easy to assume that stainless steel instruments are tough enough to handle anything. That assumption leads to some of the most costly habits in clinical practice. Corrosion, dullness, stiff joints, and surface pitting do not happen overnight. They build up slowly, often from habits that seem harmless at the time.
Good surgical instrument care protects your tools, keeps your costs down, and most importantly, supports safe patient outcomes. A damaged instrument is not just an inconvenience; it is a risk.
Common Mistakes That Damage Surgical Instruments
Some of these mistakes happen because of time pressure, others simply out of habit, and the impact on your instruments is the same. Here are the most common ones to watch out for.
1. Leaving Blood and Debris to Dry
When blood, tissue, or saline is left to dry on an instrument, it becomes very difficult to remove and starts to corrode the metal. Stainless steel resists rust, but it is not immune to it, especially when exposed to chloride-based fluids over time. Place used instruments into a pre-soak solution or rinse them with water immediately after use. Do not let them sit in a tray for hours.
2. Skipping or Rushing Surgical Instrument Cleaning
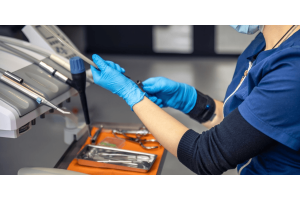
Proper surgical instrument cleaning is the foundation of good maintenance, yet it is often rushed. Residue left on instruments can block the sterilisation process, meaning the tool is not sterile even after an autoclave cycle. Instruments should be cleaned manually first, then processed through an ultrasonic cleaner or washer-disinfectant. Each instrument type has specific cleaning requirements that must be followed consistently.
3. Using the Wrong Cleaning Products
Bleach-based products and harsh chemicals can strip the protective oxide layer from stainless steel, leaving it vulnerable to rust and pitting. Always use enzyme-based detergents or products specifically approved for surgical instruments. Check the manufacturer's instructions before introducing any new cleaning product to your workflow.
MediTools Pty Ltd supplies a wide range of medical and surgical instruments built to meet the needs of Australian healthcare professionals. Explore our full range and find the right tools for your clinic today!
4. Incorrect Instrument Sterilisation Practices
Instrument sterilisation errors are more common than people realise. Overloading an autoclave is a frequent issue; when instruments are packed too tightly, steam cannot reach all surfaces and sterilisation is incomplete. Other mistakes include using the wrong cycle, ignoring sterilisation indicator results, and reusing single-use items. Instruments that go through incorrect sterilisation cycles repeatedly suffer surface damage and reduced function over time.
5. Not Lubricating Hinged Instruments
Scissors, needle holders, and artery forceps all have hinges that need regular lubrication. When this step is skipped, joints become stiff and corrode from the inside. Water-based lubricants should be applied after cleaning and before sterilisation. Oil-based lubricants should be avoided as they leave a film that blocks steam penetration during autoclaving.
6. Using Instruments for the Wrong Purpose
A clamp used to hold a drape, scissors used to cut packaging, and a retractor used as a lever; these small moments of improvisation cause real damage. Every instrument is crafted for a specific task, and using it outside that purpose stresses parts not built for it. Training staff on the correct use of each instrument type is one of the most effective ways to extend instrument life.
Storage and Handling Mistakes to Watch Out For
Poor storage is just as damaging as poor cleaning. These habits are common across many facilities and quietly reduce instrument life over time.
Stacking Instruments in a Tray
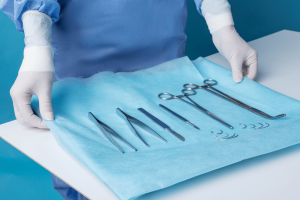
Tossing instruments into a pile damages delicate tips and cutting edges. Place instruments individually in trays or cassettes with proper spacing.
Storing in Damp or Humid Conditions
Moisture is harmful to stainless steel. Sterilised instruments should be stored in a dry, well-ventilated area. The Royal Australian College of General Practitioners states that storage temperatures should be between 22 and 26°C, with humidity kept below 60%.
Ignoring Signs of Wear and Damage
Small cracks, pitting, or stiff joints are early warning signs that an instrument is deteriorating. Damaged instruments are harder to clean properly and can harbour bacteria in crevices that are impossible to sterilise. Inspect instruments regularly and remove any tool showing signs of damage.
Skipping Documentation
Good maintenance records help identify patterns, such as an instrument that repeatedly returns with corrosion, so you can act before it becomes costly.
Ignoring Manufacturer Instructions
Every instrument comes with instructions covering cleaning temperatures, approved detergents, and sterilisation cycles. Ignoring them, even occasionally, can void warranties and significantly reduce instrument life.
Surgical Instrument Maintenance Tips to Follow Every Day
Consistent habits make the biggest difference. Here are practical maintenance tips every clinic should follow:
● Rinse instruments with water immediately after use.
● Use only enzyme-based or manufacturer-approved detergents.
● Run instruments through an ultrasonic cleaner before autoclaving.
● Apply water-based lubricant to all hinged instruments after every wash.
● Inspect each instrument after sterilisation and before storage.
● Store instruments in dry, ventilated conditions in individual trays.
● Keep detailed maintenance records for every instrument.
● Train all staff on the correct use of each instrument type.
Conclusion
The mistakes covered in this blog are all avoidable with the right habits, the right products, and consistent training. Taking care of your instruments means fewer replacements, lower costs, and better outcomes for your patients. Small changes in daily practice go a long way.
MediTools Pty Ltd is a trusted provider of premium medical instruments in Australia, offering ARTG-listed quality and expert support to healthcare professionals across all specialities. Check out our catalogue today to find instruments that are built to last!
Disclaimer
The content provided here on the sterilization, cleaning, and reprocessing of surgical and medical instruments is strictly for informational and educational purposes only. This information is not a substitute for professional training, certification, or the manufacturer's official Instructions for Use (IFU). Sterilization is a critical, complex process that demands strict adherence to regulatory standards; improper technique can cause serious harm, including patient infection. All healthcare personnel must follow their facility's established protocols and the specific IFU for every instrument and piece of equipment. By using this blog, you agree that the author/owner holds no liability for any damages or consequences resulting from the application or misuse of this information.